An invoice is the most-read document your business produces. Your client's accounts department will study it, file it, and — if it is done right — pay it without a single follow-up email. Done wrong, it becomes an excuse: "We couldn't process this, can you resend?"
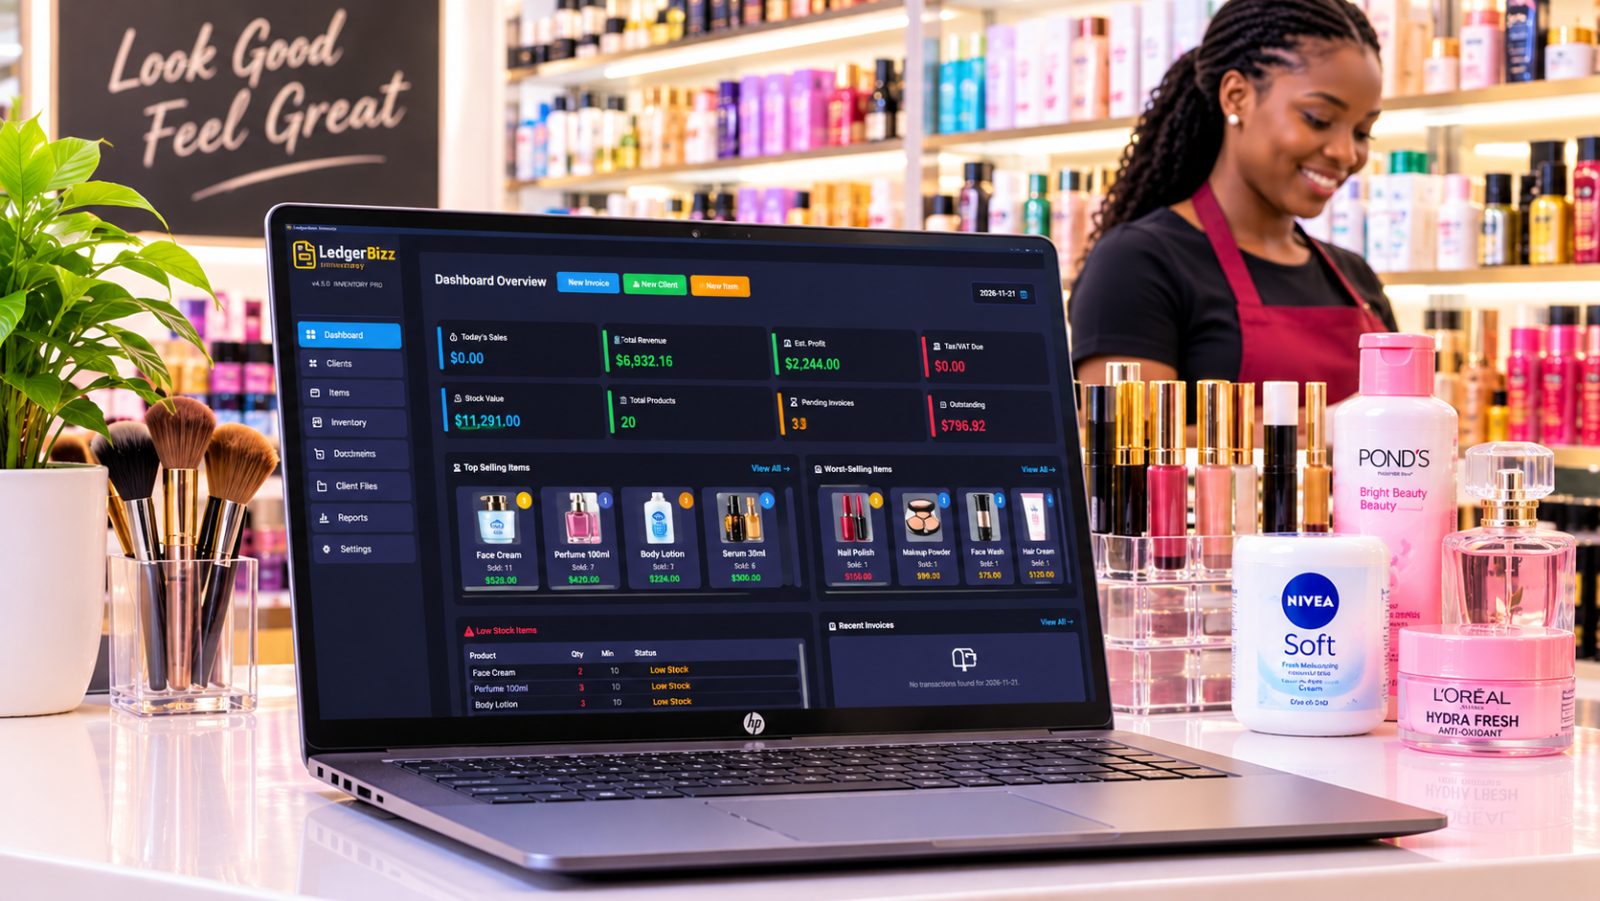
This guide covers the full anatomy of a professional invoice and the exact workflow inside LedgerBizz Standard — from the Documents tab to the 📧 button — including the tax and discount rules the software enforces so your math can never embarrass you.
What Every Professional Invoice Must Include #
| Element | Why it matters |
|---|---|
| The word "Invoice" | Removes ambiguity — this is a demand for payment, not a quote |
| Unique invoice number | Legal traceability, your filing system, and the client's reference |
| Issue date | Starts the payment-terms clock |
| Due date / terms | "Payment due within 14 days" beats "please pay soon" |
| Your business details | Name, address, contacts, and tax/VAT registration where applicable |
| Client details | Correct legal name and address — mismatches delay approval |
| Line items | Clear descriptions, quantities, unit prices, line totals |
| Subtotal, tax, grand total | Separated explicitly so accounts can verify the math |
| Payment instructions | Bank details, M-Pesa, or other methods — spelled out |
| Terms and notes | Late fees, warranty notes, or a simple thank-you |
In LedgerBizz, most of this is filled once and reused forever: company details and currency in Settings → Company Information, bank/M-Pesa/PayPal details and terms in Settings → Payment Information (with a Show on PDFs toggle), and each client's details in the Client Database.
Step by Step: The Exact Click-Path #
Open the Documents tab — the header reads 📄 Create New Document — and follow the row of controls left to right:
- 📄 Type — choose Invoice from the dropdown.
- 👤 Client — pick from the combobox; start typing a name and it filters as you go.
- + Add Item — each row starts with Qty pre-filled to 1, and selecting a product from the dropdown auto-fills its saved price from your Item Database. Change the quantity and the line total updates instantly.
- Tax % — enter your VAT rate once; subtotal, tax, and grand total recalculate live beneath the items table.
- Discount — choose Fixed /= for a flat amount or % Percent for a percentage (more on the math below).
- 💳 Payment Details — set the Method (Cash, M-Pesa, Bank Transfer, Cheque, Credit Card, Other), a transaction reference if money already moved, and the Status: Unpaid, Partial, or Paid. Choosing Partial or Paid reveals an Amount Paid field — and Paid auto-fills it with the grand total.
- 💾 Save Document — the app issues the document number and adds it to 📋 Saved Documents below.
- In the saved row, pick your template from the 📋 Template dropdown, then use the row buttons: 📄 download PDF, 🖨️ print, 📧 email — the PDF carries your logo, stamp, and signature.
The whole sequence is under two minutes once your databases are set up — and every invoice looks identical in quality, whether it is your first or your five-thousandth.
Make It Look Like Your Business #
Logo, stamp, and signature #
Upload them once in Settings → Branding, each with its own Show toggle. A stamped, signed PDF reads as issued, not drafted — and in many markets a stamp is simply expected on formal documents.
Ten templates, one identity #
The Template dropdown offers ten designs — from 1 - Classic Professional and 2 - Modern Minimalist to 5 - Payment Details and 10 - Traditional (the trial includes the first three). Pick one that matches your industry's tone and use it every time; consistency is what clients recognize.
Letterheads for everything else #
The Generate Letterhead button in the Documents tab opens the letter generator, so the formal letter accompanying an invoice carries the same identity. We cover it fully in generating professional business letterheads.
Numbering You Never Have to Think About #
LedgerBizz issues document numbers automatically, prefixed by type — a quotation looks like QUO-202611-…, and invoices and receipts get their own sequences. You never type a number, never reuse one, and never leave a gap by accident.
The professional discipline that remains yours: never delete and reissue a sent invoice. If it was wrong, issue a Credit Note linked to it (and a corrected invoice if needed) so the trail stays intact. The app makes the link easy — the note's 🔗 Link dropdown lists that client's invoices.
Taxes and Discounts: The Math the App Actually Does #
Here is the rule most spreadsheet users get wrong, and the one LedgerBizz enforces in code: a percentage discount is calculated on the tax-inclusive total — subtotal plus tax — and the discount can never exceed that amount, so a document total can never go negative.
A worked example, exactly as the app computes it:
| Line | Amount |
|---|---|
| Subtotal (items) | $1,000.00 |
| VAT (16%) | $160.00 |
| Tax-inclusive total | $1,160.00 |
| Discount (10% of $1,160) | −$116.00 |
| Grand total | $1,044.00 |
Prefer a flat reduction? Switch the dropdown to Fixed /= and type the amount — it is applied as-is, capped at the payable total. Either way, the tax figure feeds your dashboard's Tax/VAT Due card, so what you owe at filing time is already summed.
Tip: when you load items from a linked quotation, the discount arrives as a flat amount and the dropdown resets to Fixed mode — because that is exactly how the approved figure was stored. The client is billed precisely what they agreed.
Let Documents Flow: Quote → Invoice → Receipt #
Professional billing is a chain, not a pile of separate documents:
- Send a Quotation; the client approves.
- Set Type to Invoice, pick the client, choose the quotation in the 🔗 Link dropdown, and click 📥 Load — items, tax, and discount arrive exactly as quoted, and the customer auto-selects if you had not chosen one.
- When money lands, create a Receipt linked to the invoice. Load pre-fills the payment details and sets Amount Paid to the outstanding balance, so partial payments stay accurate.
The full method is in our quotation-to-invoice guide.
Seven Mistakes That Make Invoices Look Amateur #
- No payment terms — set them once in Settings → Payment Information and enable Show on PDFs.
- Vague line items — "services rendered" invites disputes; "Website maintenance, November 2026" does not. Item descriptions from your Item Database print on the document.
- Hand-typed prices — let the saved item price auto-fill; typing is where errors live.
- Math that does not add up — impossible when the app computes totals live.
- Missing payment instructions — the Payment Details template exists precisely for this.
- Wrong client legal name — fix it once in the Client Database, not on every document.
- Deleting instead of correcting — credit notes keep your history honest.
Send It Properly #
Configure SMTP once (Settings → Email Configuration → 📧 Test & Save; Gmail needs an App Password with 2FA enabled). Then the 📧 button on any saved document generates the PDF and sends it with a professionally designed HTML email. Prefer your own voice? Enable Custom Email Templates in Settings and write with variables like {customer_name}, {doc_type}, {invoice_number}, {total_amount}, {company_name}, and {date_created}. If SMTP fails, the app offers your default email client as a fallback — and every send is logged in the Reports tab's Email History.
The 60-Second Final Check #
Before every send: client correct, items descriptive, tax rate right, discount mode intentional (Fixed vs Percent), payment status honest, template chosen, branding on. Then send it and let the 🪙 Record Payment button take over — because a professional invoice is only half the job; tracking the payment is the other half.